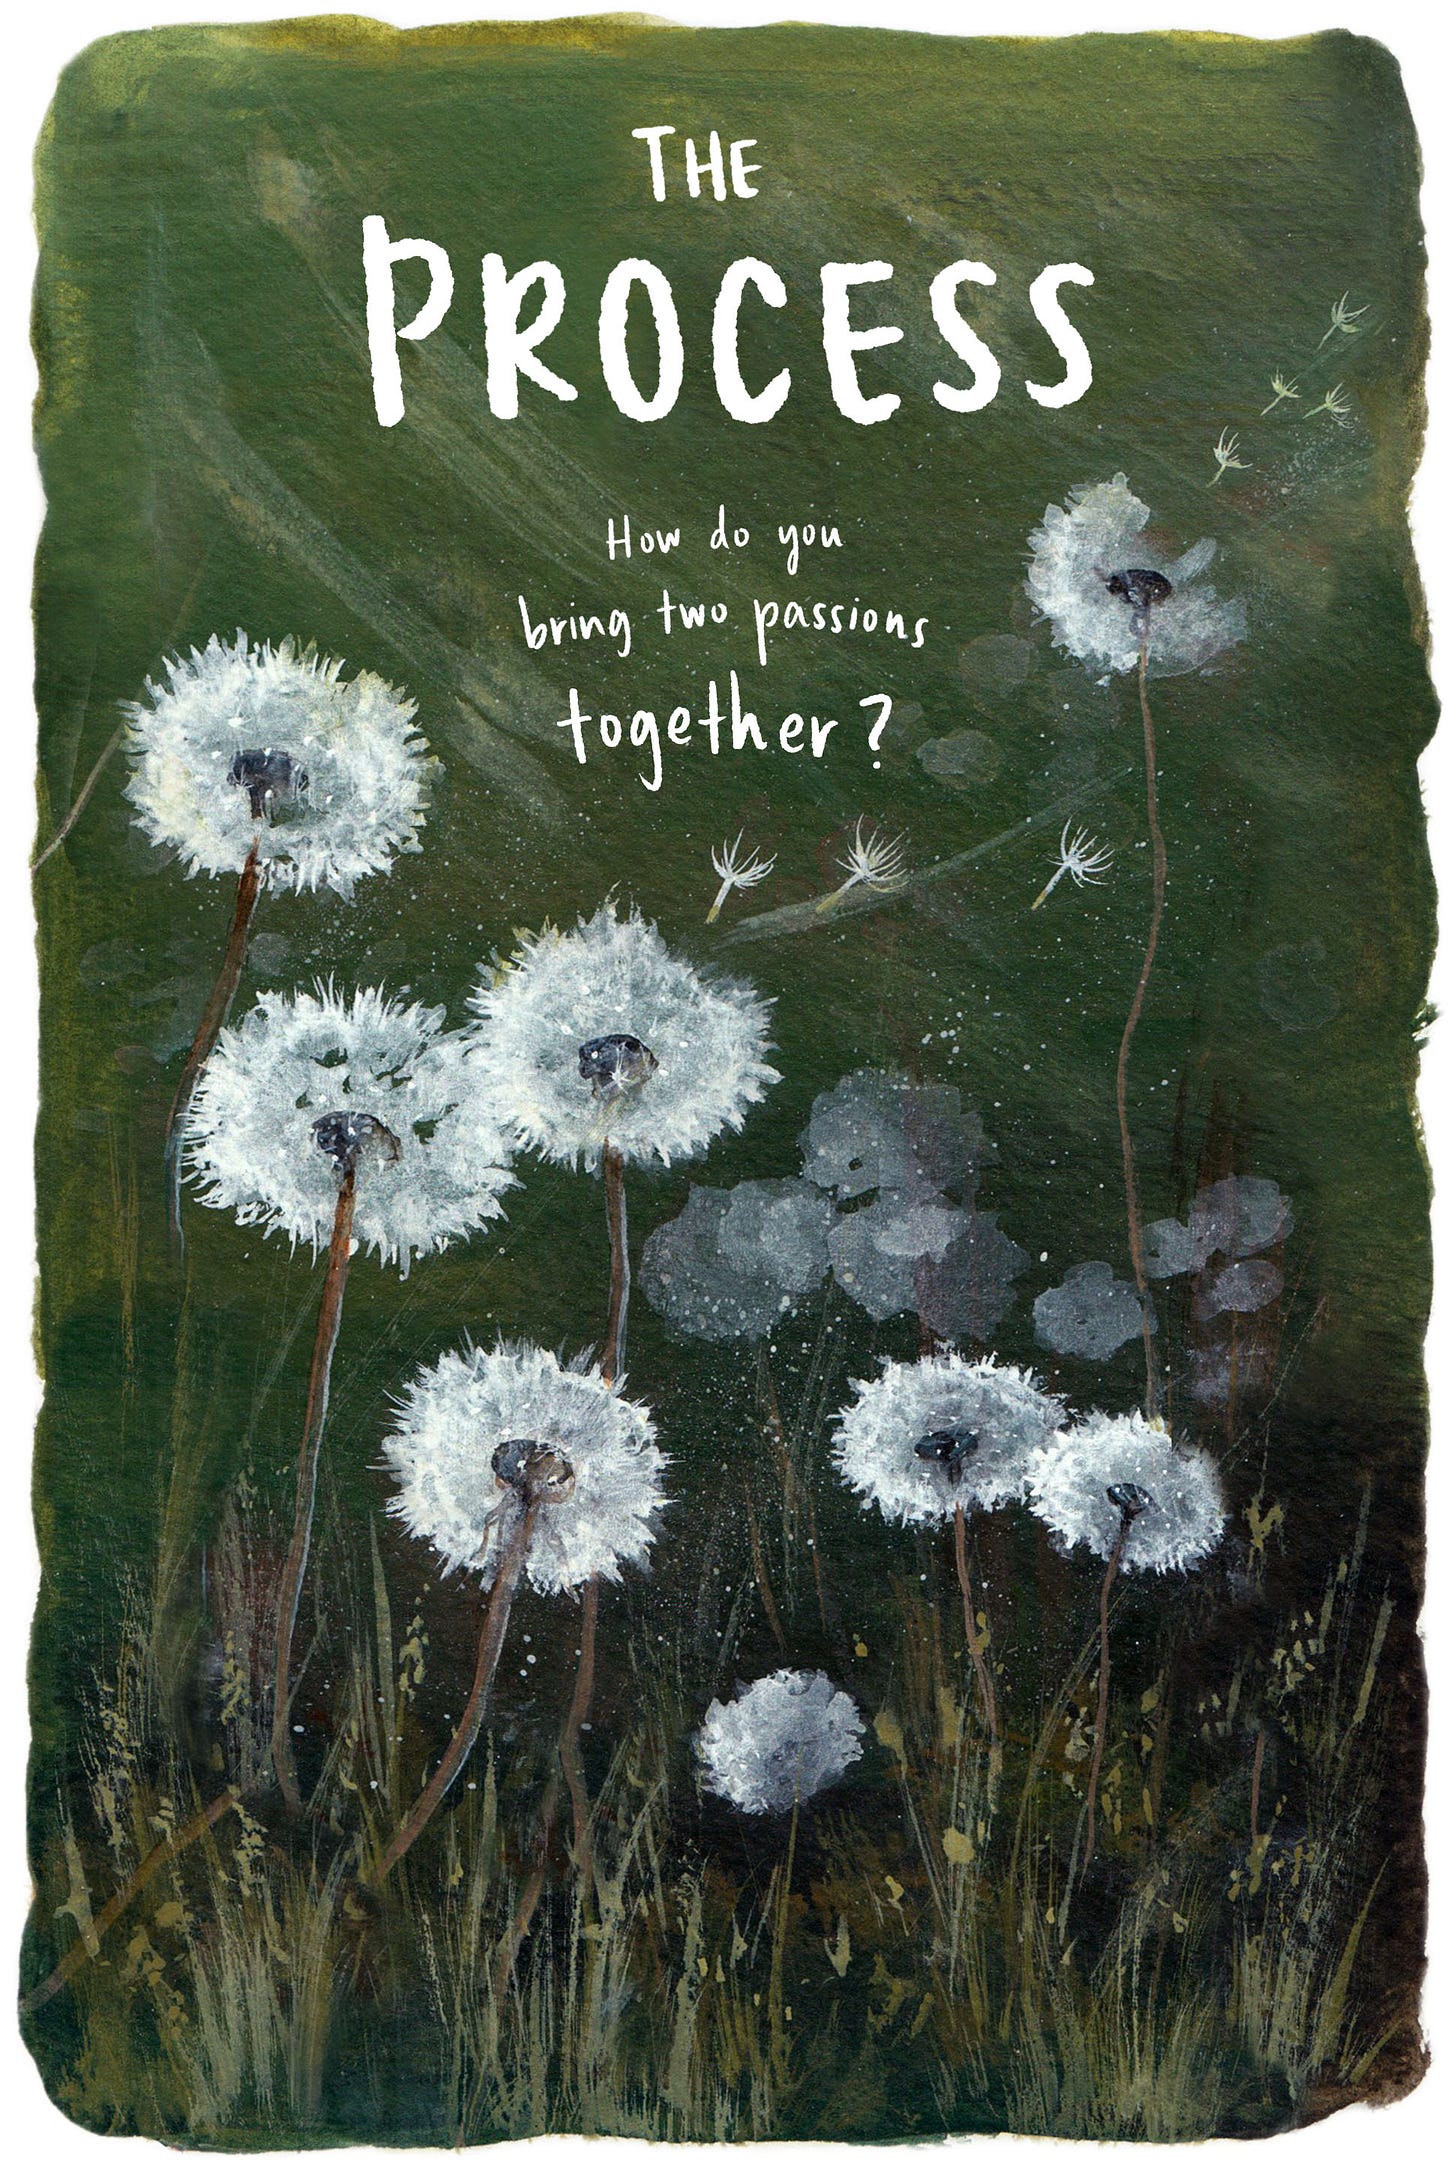
How do you bring two passions together?
An in-depth look at how I create illustrated essays on Substack.
I’ve been wanting to put together a process post for a while now, taking a closer look at how my illustrated essays come together. Today, I’m thrilled to finally share it with you, as part of a new series going behind the scenes of Dandelion Seeds.
Writing and art were once separate endeavors for me — not least because I didn’t study to be an artist.
I did study to be a writer. I majored in English in college, and I have a master’s in creative writing, with a focus in travel writing. I’ve never doubted (well, almost never) that I could call myself a writer or am allowed to be one professionally.
But my journey as an artist is an entirely self-taught one, marked by YouTube videos, Skillshare classes, and hours spent hunched over my sketchbooks.
It was only thanks to the encouragement of others that I began to bring my two passions together.
There was the time I met renowned travel writer and editor Don George, who saw a few of my sketches at a conference and said, “You should do more with them. Why don’t you pair them with your stories?” And as I just shared here last week, there was an email from an editor at Longreads, who asked if I would be interested in pitching her ideas for an illustrated piece.
Illustrated essays are now my favorite kind of story to work on, because in the process of making them, I have the chance to express myself creatively in so many different ways: in words, in art, and even in the design that brings them together.
And I think that’s what we’re all looking for ultimately as makers and creators: for the projects that bring our passions and interests together, and for the chance to live out the truest expression of who we are — and what we love to do.
Step one: The story
Writing a new illustrated essay is always the first step for me. Even though I love both of my roles as a writer and artist, the story will always come first, before I think about how I’d like to illustrate it.
I begin writing each new essay just as it will later be hand-lettered — with center-aligned text and paragraphs made up of short lines.
Although I’m not a poet, I find there is something akin to writing poetry in working on these essays.
I’ve come to love thinking in terms of lines and phrases, especially for how it influences me as a writer; it helps me tell stories in a simpler, more direct voice. I also love paying attention to things like line breaks, the spacing between paragraphs, and even the shape of a certain paragraph.
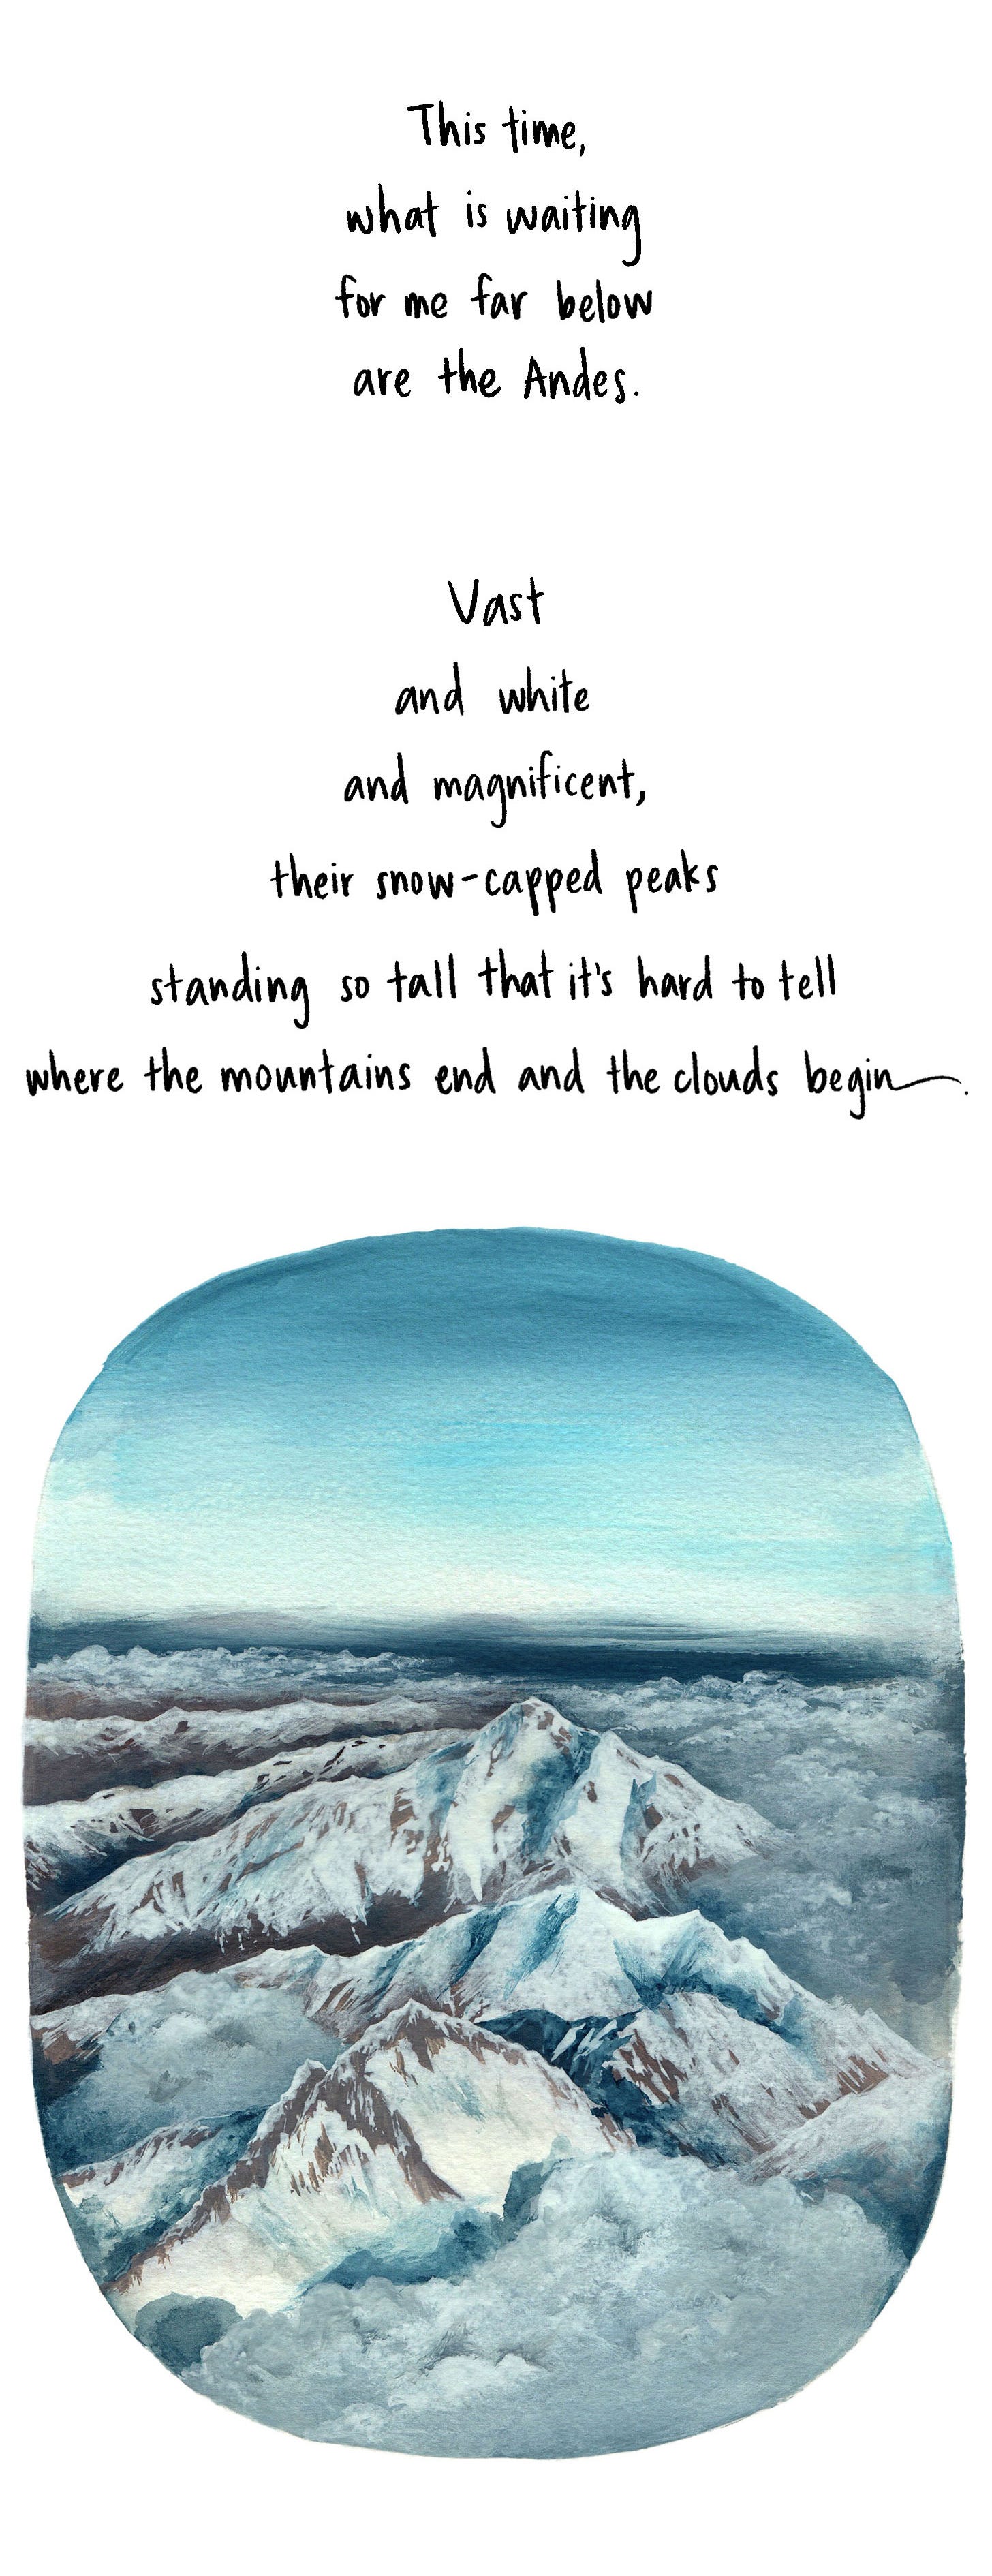
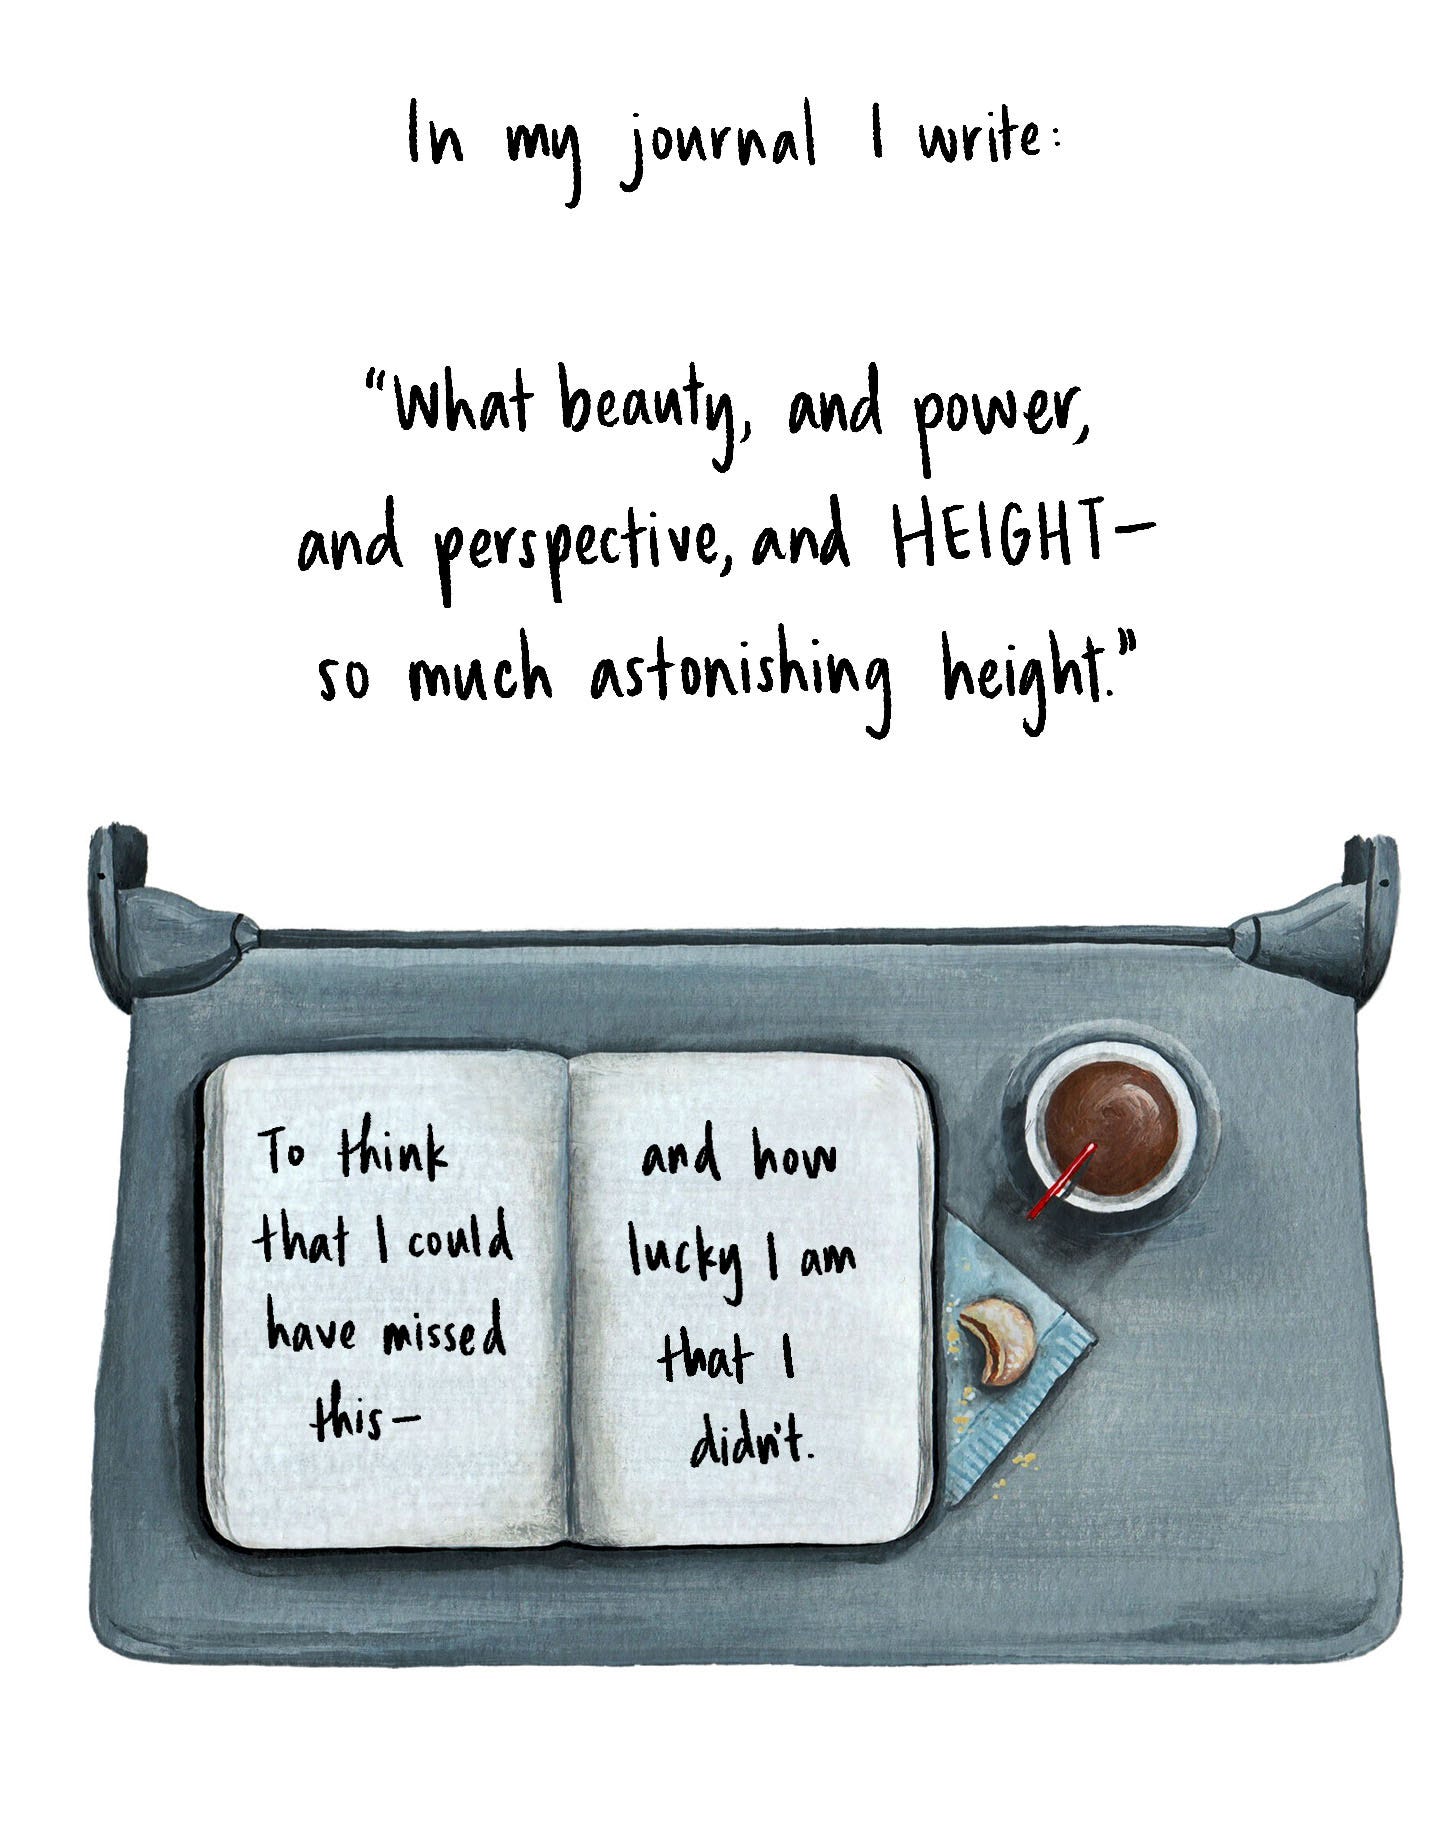
It feels like writing an essay as if it’s a poem. Here’s an example from “Home is a Window Seat,” where the shape of the lines echoes the story itself:
Step two: Illustrations
Only once the story is finished do I shift my focus and begin thinking about a new essay as an artist, not a writer.
All of my illustrations are painted by hand, with acrylic inks — a beautiful medium I fell in love with a few years ago for the way it marries the fluidity of watercolors with the opacity of acrylics.
Here’s a peek at my setup, as I worked on the illustrations for “The Sounds of Home” earlier this year:
Then, when a new batch of artwork is complete, it’s time to pull out my scanner, scan the illustrations, and clean them up in Photoshop.
Every so often, I wonder if I should try out digital painting on an iPad — to save myself a little time — but I always decide that it wouldn’t be the same. There’s just something about the texture and feeling of hand-drawn and hand-painted art that wins me over.
Something else that brings me joy is when a particular color palette emerges for an essay, be it the rich wine red of cherries and plums in “The Dutch Word for Gift,” or the soft blues and browns that run through “The Sounds of Home.”
I love it when motifs and themes unfold in the visuals of a story as much as in the writing itself.
Step three: Cover artwork
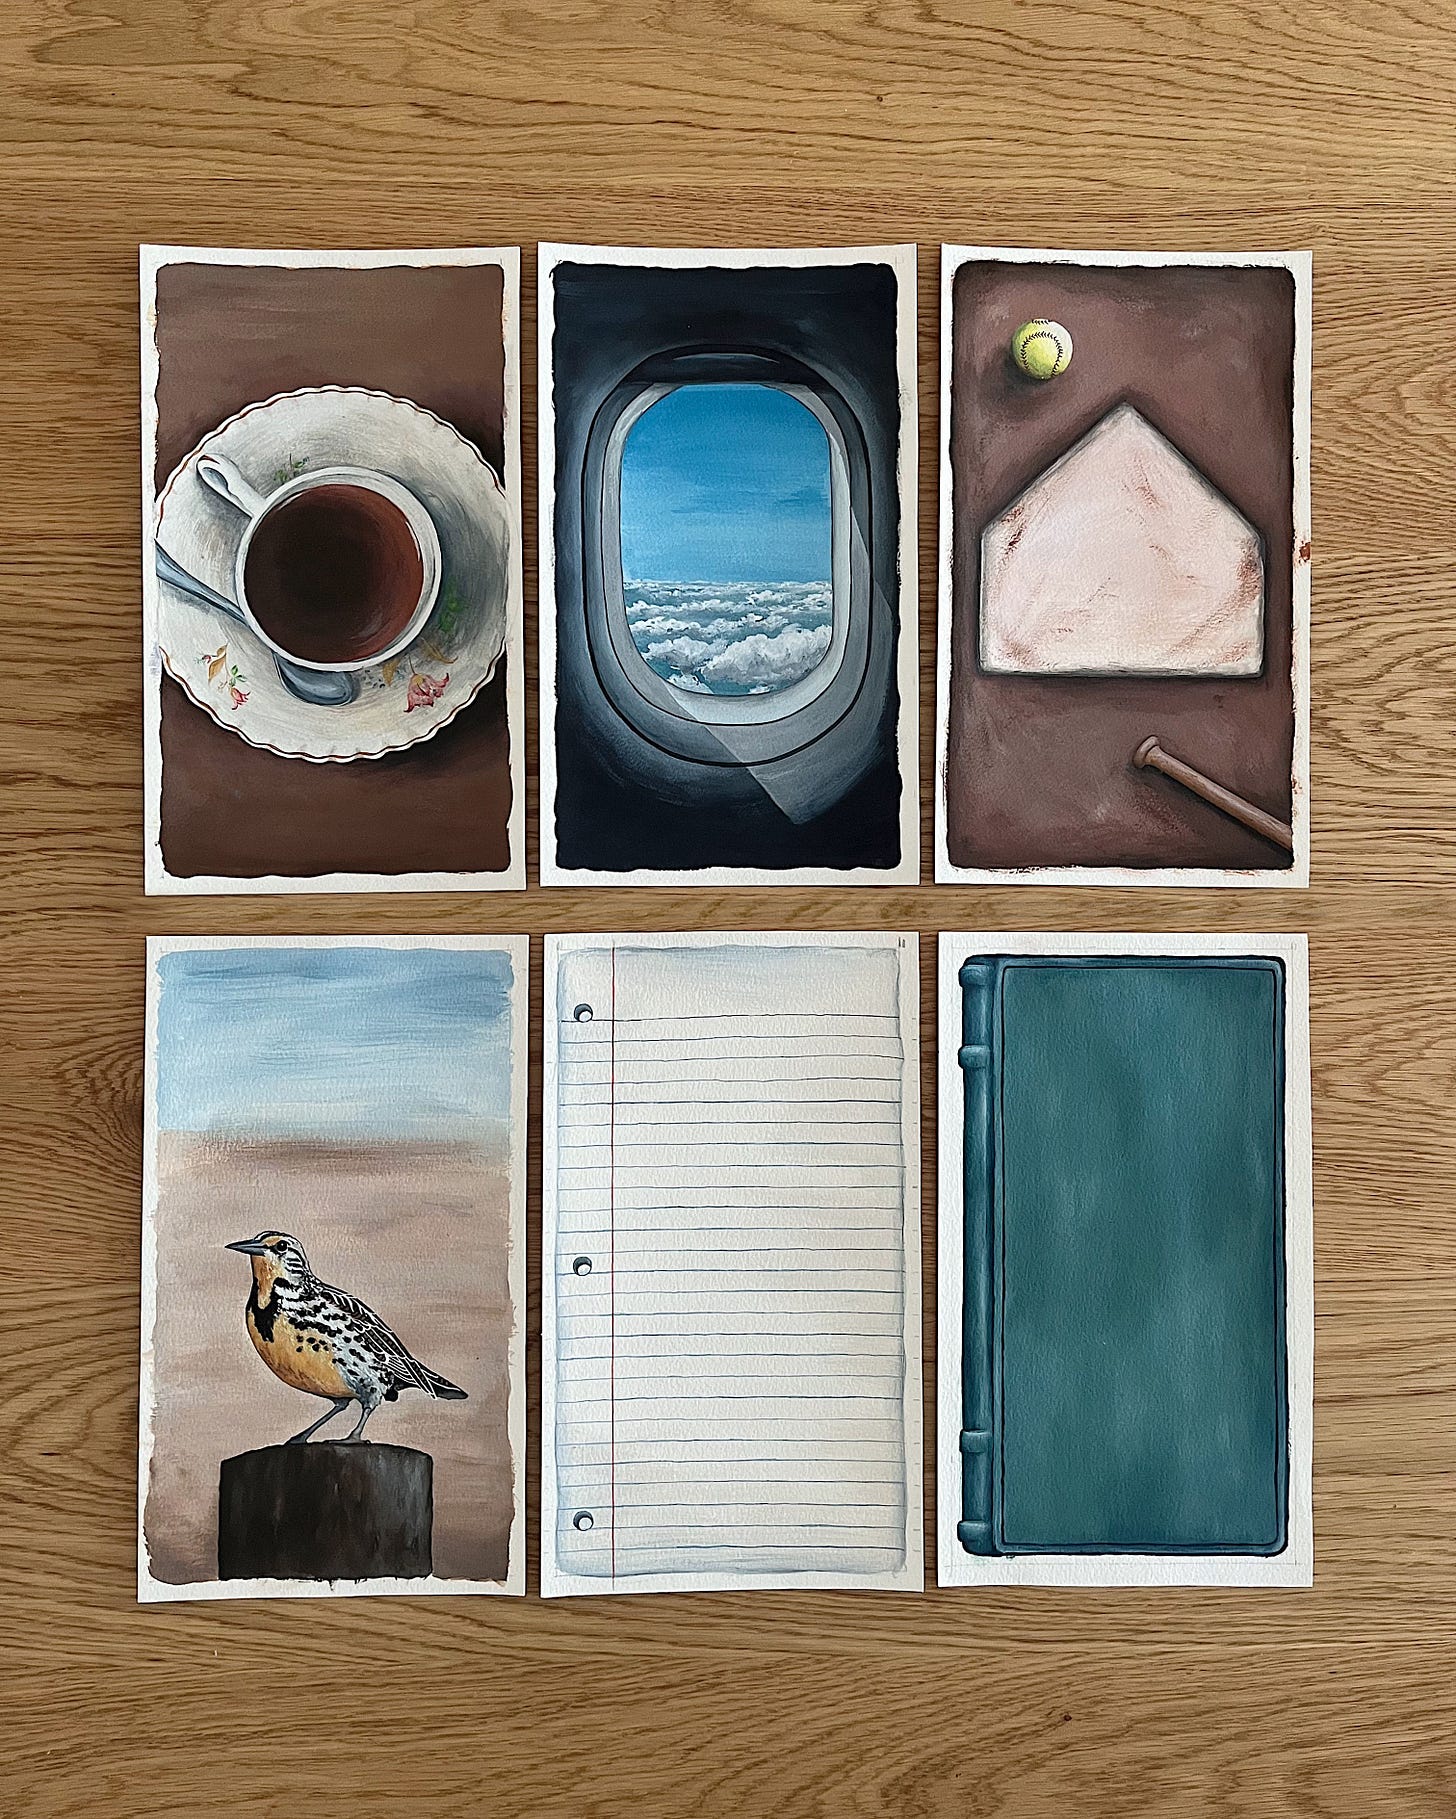
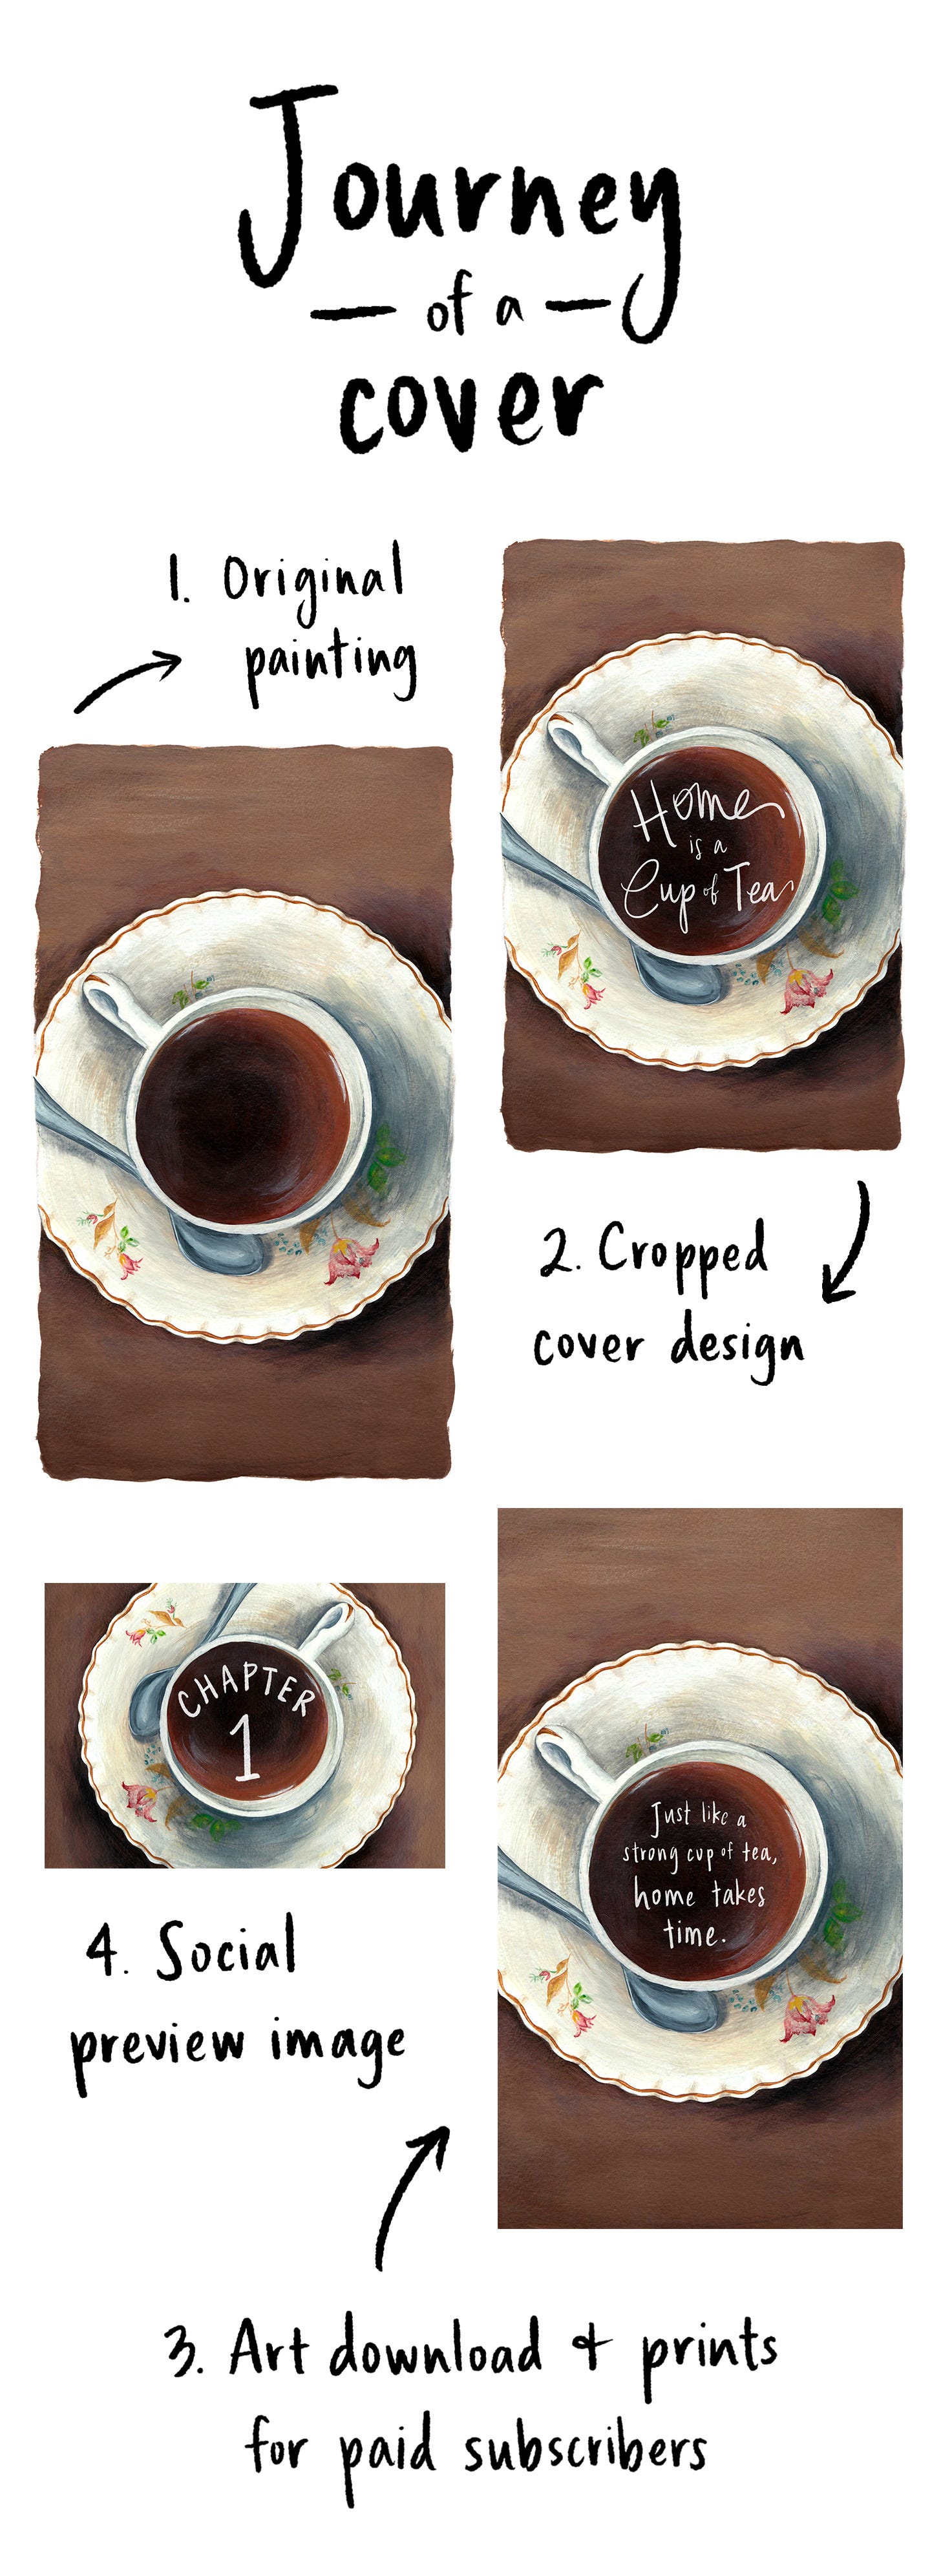
With every new essay, my favorite illustration to create is always the lead image that goes with the story — or what I like to call the cover artwork.
As I’ve shared here before, I love approaching each cover illustration just as I would a new book cover commission, and I also enjoy coming up with an idea that will lend itself to multiple formats.
I create each original cover with an extra-long aspect ratio, so that I can turn it into iPhone wallpaper for an art download later on. I then crop the painting in Photoshop to create the cover itself, and I try to make sure part of the scene works horizontally as well, for the social preview image. I’ve even made some of the covers into prints that I send as a thank-you to paid subscribers (you can take a look at them here).
It’s a tall order for one illustration, but gratefully, the covers always seem to be up to the challenge.
Step four: Hand-lettering
While all of my artwork for each illustrated essay is drawn and painted by hand, I do the hand-lettering digitally — with my trusty little digital writing tablet, which plugs into my laptop and lets me do the lettering right into Photoshop.
The tablet was only $50 on Amazon, but it’s become an essential part of my creative practice and toolkit.
Here’s a short video of how I hand-lettered the cover art for this post (and I left in just how many times it can take me to get a single letter right):
I’ve always tended to be quite straightforward with the lettering, going with even lines and uniform word size.
But lately, my husband Jose (who is also the unofficial art director of Dandelion Seeds) has been encouraging me to be a little more playful; to change up the size of different words, and to experiment more with how I lay them out on the page.
I decided to take his advice when I started hand-lettering my recent essay, “To Know You Very Happy.” I had a lot of fun doing it, and I have a feeling I’ll be trying it out again soon in future essays.
Step five: Formatting
At the same time that I’m hand-lettering a new essay, I’m also working on the formatting of it, but I thought I would separate the two into different steps.
Each essay is made up of long white panels in Photoshop, where I layer the lettering and artwork together.
I place the illustrations as I go, in case I want to play around with the lettering of that section and wrap the text around an image — or sometimes, I’ll place the lettering on the image itself, like I did in “Home is a Window Seat.”
Something else I think a lot about in this final step is how much spacing to include between paragraphs. Just like the rests in music, white space has become a big part of each essay. If there’s a particular line or thought that I’d like readers to have more time to absorb, I’ll leave more room before the next paragraph.
Once the panels are done, I export them from Photoshop as JPGs before uploading them into Substack — hopefully, in the right order (this is something I always double and then triple-check before publishing).
And that’s it! At the end of this process, a new illustrated essay is officially ready to make its way into the world.
Is there something you’re curious about that I didn’t touch on here? Feel free to leave a comment below, and I’ll keep updating this post as new questions come in.








Omg how I loved this post. In particular, the writing the text video. But honestly, all of it. More of this please!! And the fact that you are a self-trained artist is so inspiring for me to know! My style isn't as realistic as yours, but I would so love to have the skill to do the beautiful realism you do. Skillshare, youtube and I shall keep hanging out!
There’s magic in the process and a process to the magic! Loved this behind the scenes, Candace!